7.5 Color settings
Thanks to this dialog box that can be visualized
selecting View
![]() Color
Color
![]() Settings, it's possible to change some
interesting color parameters for a nice view.
Settings, it's possible to change some
interesting color parameters for a nice view.
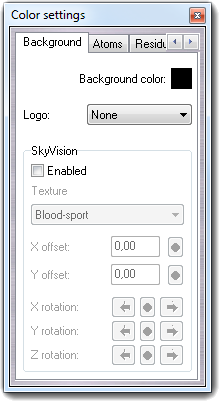
7.5.1 Background settings
|
|
Clicking the Background color
box, you can change the background color. As a possible application
of this feature, you can change the background color from black to white
in order to make an hard copy of the screen. Changing Logo gadget, you
can superimpose the VEGA ZZ logo on the screen, placing at Top left, Top center, Top right, Center
left, Centered, Center right, Bottom left, Bottom
center and Bottom right of the workspace.
Vertex;Red;Green;Blue
1;0;0;128
2;0;0;128
3;0;0;128
4;0;0;128
5;0;0;0
6;0;0;0
7;0;0;0
8;0;0;0
All these files The landscape can be adjusted in the scene changing the position (X offset and Y offset) and the orientation (X rotation, Y rotation and Z rotation). When you click the dot buttons, the parameters are reverted to default. |
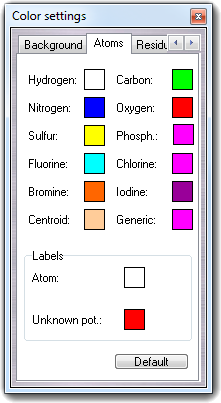
7.5.2 Atom settings
|
|
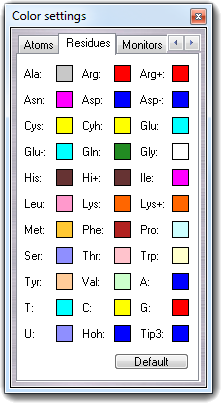
7.5.3 Residue settings
|
|
7.5.4 Monitor settings
|
|
7.5.5 Other settings
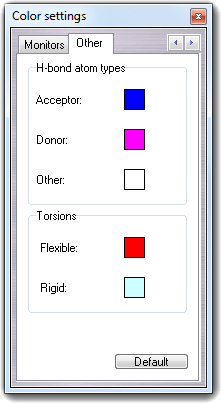 In
this tab, you can change the color of the H-bond acceptors, H-bond donors
and non H-bond involved atoms. Moreover, you can change the color of
flexible and rigid bonds. In
this tab, you can change the color of the H-bond acceptors, H-bond donors
and non H-bond involved atoms. Moreover, you can change the color of
flexible and rigid bonds. |
 In
this tab, you can change the color scheme used when you select View
In
this tab, you can change the color scheme used when you select View
 In
Residues tab, you can change the color scheme used when you select
View
In
Residues tab, you can change the color scheme used when you select
View
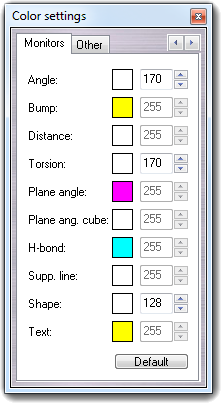 In
Monitor tab, you can set the color and the transparency (0 = full
transparent, 255 = full opaque) of the monitors shown when you measure
angles, bumps, distances, torsions and angles between two planes.
Clicking Default,
the colors and the transparencies are reverted to default.
In
Monitor tab, you can set the color and the transparency (0 = full
transparent, 255 = full opaque) of the monitors shown when you measure
angles, bumps, distances, torsions and angles between two planes.
Clicking Default,
the colors and the transparencies are reverted to default.